
Creating New GoldSrc WADs with Qlumpy and Wally
(December 13, 2017)
If you've been mapping for GoldSrc games for any period of time, you should know about WAD files. Both the game and your level editor make use of WAD files to store and read textures. There's nothing limiting the amount of textures that'll fit in a WAD file, aside from your computer's memory, and custom WAD files are still commonly in circulation on the internet today.
If you have textures of your own that you'd like to use, you can compile a WAD fairly easily. We'll be going over two programs for making them, Qlumpy and Wally.
A word on image formats
WAD files are very much a product of their time. Not just any image can be used in a WAD, and even if the format is correct, certain details can make the image incompatible without some form of conversion.
Image format
You'll be best off storing your textures in bitmap, or BMP, until you get them loaded into your WAD. You can use other formats, but there's no guarantee they'll be supported by the WAD creation tool of your choice. Qlumpy supports only bitmaps, in fact.
Image dimensions
All textures need to have dimensions that are multiples of 16. The textures don't have to be square, but each side has to be a multiple of 16. If they're not, there's a good chance your WAD creation tool won't even accept it. (Neither Wally nor Qlumpy will take these kinds of textures.) If you do manage to get them into a WAD, players using the OpenGL renderer will see your textures stretched and distorted to a multiple of 16 anyway. It's easier just to make your textures at the right size to begin with.
Below are three textures from Half-Life: Opposing Force, all of which have valid texture sizes.

Color depth
In image formats, the color depth refers to the amount of bits each pixel uses to define its color. Images nowadays are, more often than not, 24-bit or 32-bit, capable of millions or even billions of colors. For any textures you store in your WADs, however, they'll have to be 8-bit, or 255 colors maximum. The reduced color depth will be less noticeable in noisy textures, such as those of stone or brick. In smoother textures, however, you're likely to see banding.

The above image demonstrates what a reduced color depth can do to a texture. The rainbow gradient suffers from extreme banding and blotches of color after being downsampled to 255 colors, while the brick texture is sufficiently noisy to where the downsampling isn't noticeable at all.
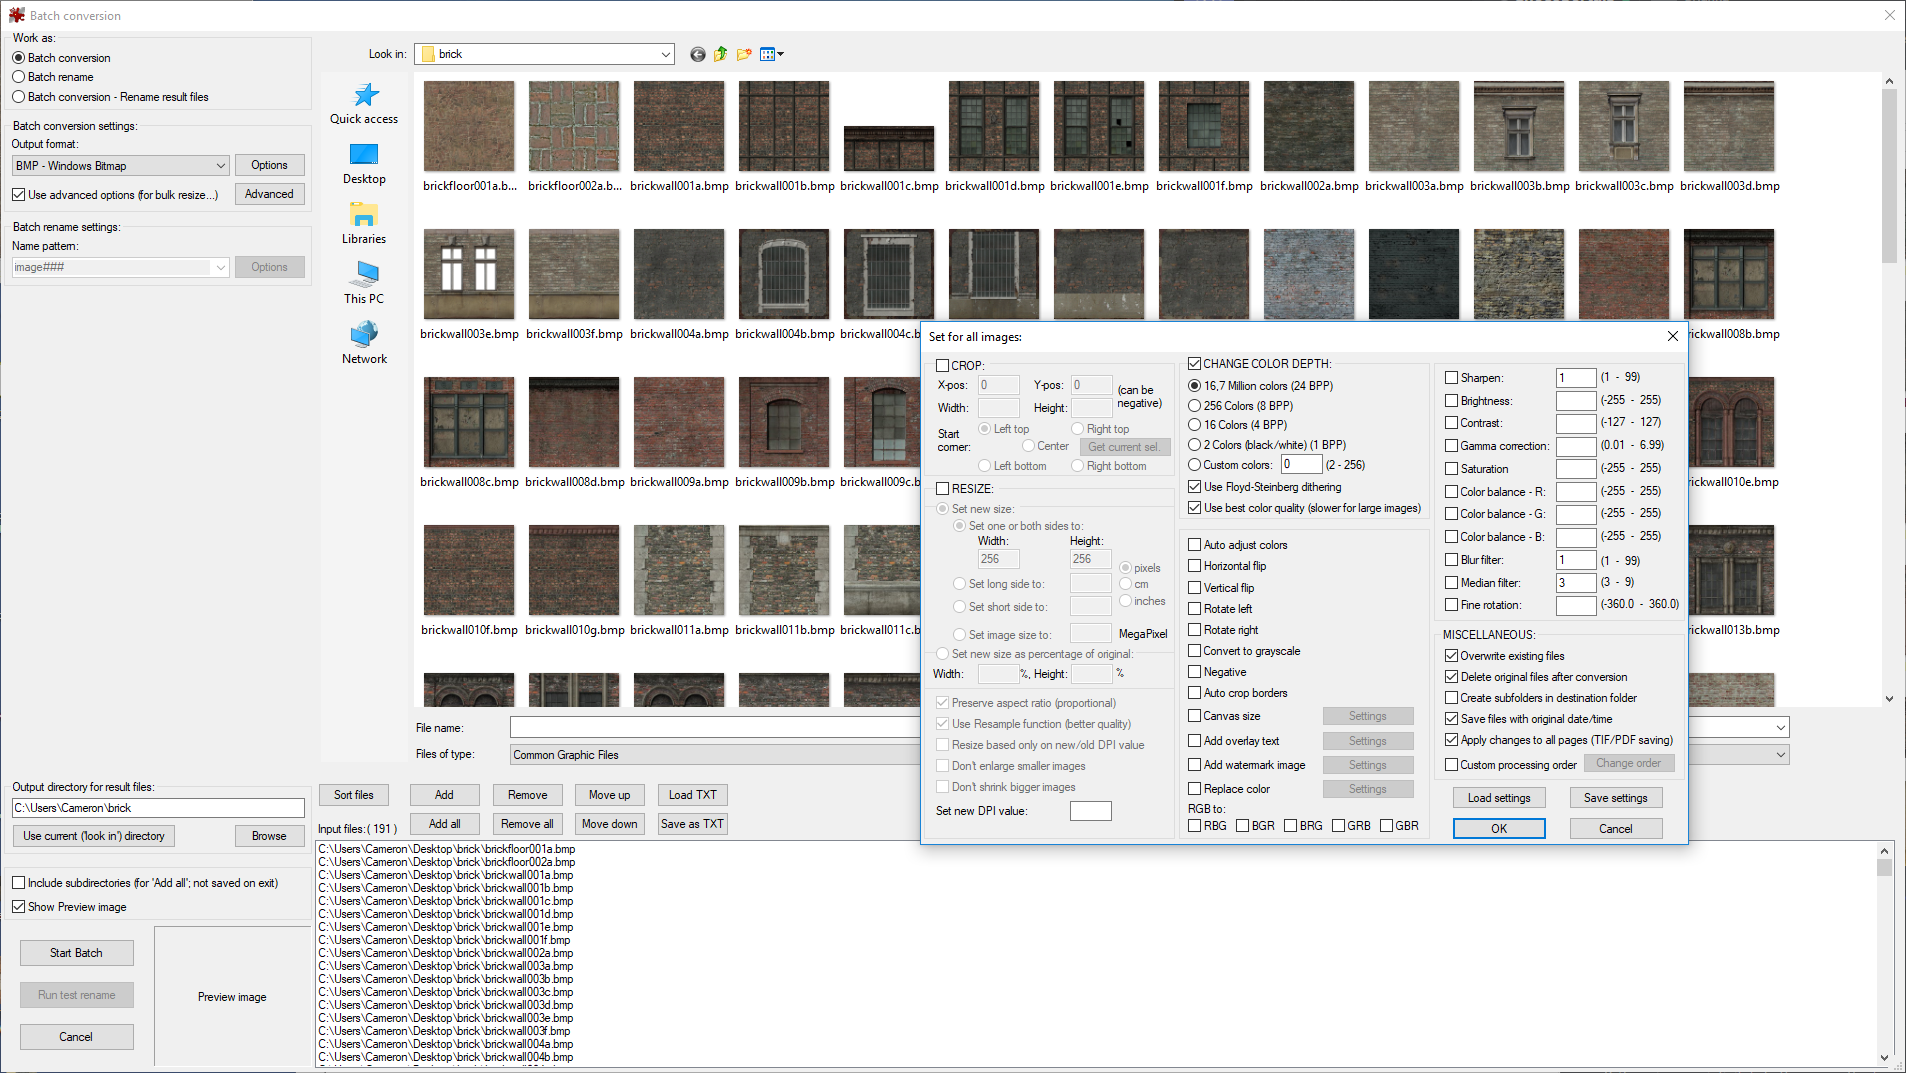
IrfanView is a free program that can do batch conversion, batch resizing, and batch resampling of your textures, if you need it. Remember, you'll want 8-bit bitmaps with dimensions that are powers of two. The textures we'll be loading into our WAD are the brick textures sourced from the 2003 Half-Life 2 leak.

Creating a WAD with Qlumpy
If you're not scared of command-line work, Qlumpy is perhaps the fastest way to create a WAD. Much like Source's command-line tools, Qlumpy requires a script file to specify the parameters of the compile. Unlike those, however, it comes with a tool to generate the script, meaning the process of creating a WAD comes down to a mere two commands. Qlumpy comes with the Half-Life SDK, which you can grab through the Tools section of Steam. From there, it's found in steamapps\common\Half-Life SDK\Texture Wad Tools.
Open up the Command Prompt and navigate to the directory where Qlumpy lives. The first order of business is to generate the script file Qlumpy will use to create the WAD. The program for this is called makels, for "Make Lumpy Script". The syntax is as follows:
makels [path to input directory] [path to output wad] [path to output script]
The input directory is where your bitmaps are stored. The path to the output WAD is where the WAD will be generated when the script file is fed to Qlumpy. Finally, the path to the output script is where the script file will be saved.
For our makels command, it looks something like this:
makels.exe C:\VDU\brick C:\VDU\brick.wad C:\VDU\brick.ls
Qlumpy supports dragging-and-dropping the script file directly onto the program executable, saving you another command. In the name of being thorough, however, here's the syntax anyway:
qlumpy [path to script file]
To wit:
qlumpy.exe C:\VDU\brick.ls
After Qlumpy does its thing, your WAD will have been created wherever you specified.
Creating a WAD with Wally
If you're more comfortable with a GUI, Wally has been considered a mapper's best friend since its inception. Wally is able to read and write a variety of texture formats, create both WAD2 and WAD3 files, and edit the textures inside them with a variety of image editing tools. For this guide, however, we'll only focus on making a WAD and saving it.
When you load it up, Wally looks something like this.
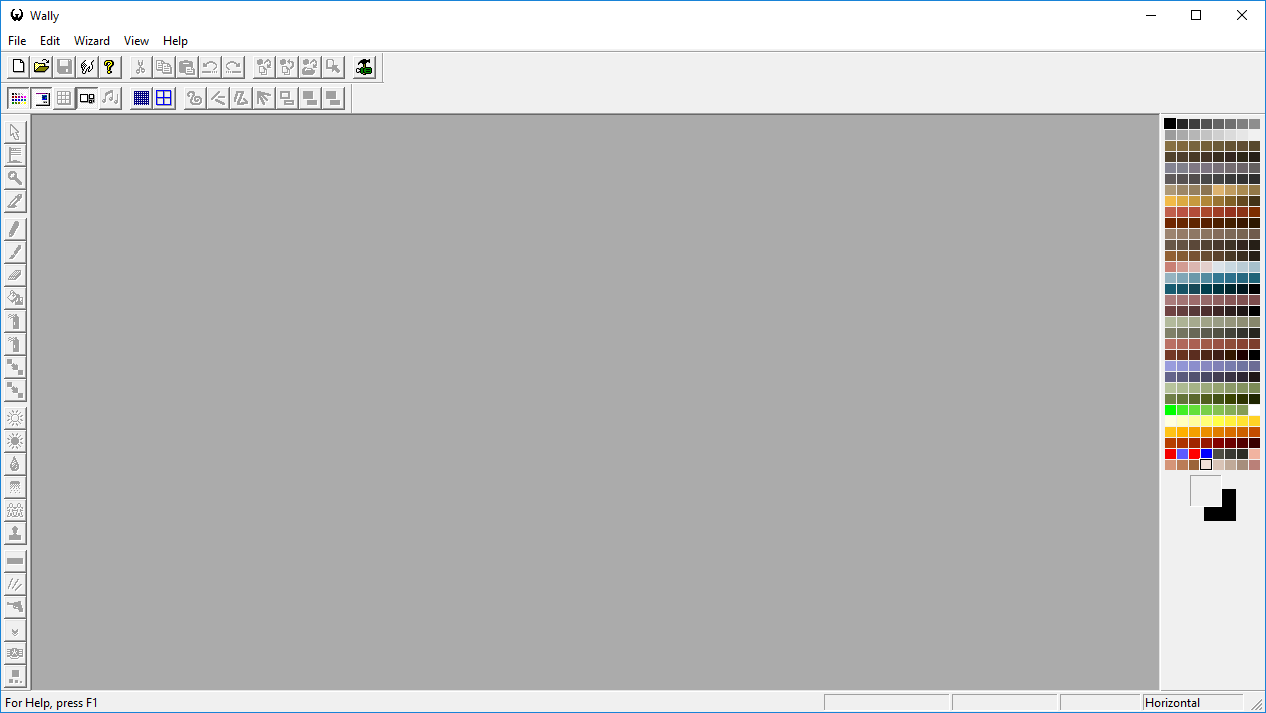
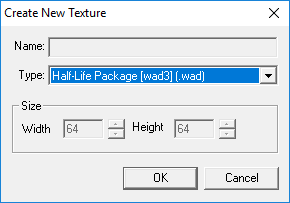
Go to the File menu and select New. A dialog will pop up, asking you to pick the type of texture you'd like to create. Select the "Half-Life Package [wad3] (.wad)" option in the "Type:" dropdown if it's not already selected. Click "OK".
A smaller window will pop up within Wally's. The quickest way to import our textures into our newly-created WAD is to select the ones you'd like to import in the Windows Explorer and then to drag them into the empty WAD window. They'll be imported without a hitch. (Wally also features a Batch Conversion dialog, in case you find yourself unable to use the drag-and-drop functionality.) From there, you can save the WAD in the location of your choice.

The only thing left to do is to load the WAD into your level editor of choice and begin using your textures.