
Constant, Linear, and Quadratic Lighting in Hammer Explained
(September 26, 2017)
Lights in Source are a tricky thing. They're much more complicated than lights in older engines, and VRAD renders them differently. It's much easier to create dramatic shadows and the like in Quake and GoldSrc games than it is in Source games. At the same time, lights in Source are much more customizable, and one feature that's not often talked about is the custom light attenuation settings.
Obviously, light doesn't travel infinitely. The farther away light gets from its source, the less intense it becomes. This is attenuation, or "fall-off". VRAD can calculate attenuation in three different ways, and this shows up in Hammer as the "constant", "linear", or "quadratic" keyvalues. The names of the three are derived from the formula used to calculate their fall-off. By default, Hammer sets all lights to use only quadratic attenuation, but this causes odd, unrealistic blobs of light to appear on textures. Perhaps a visual would help.
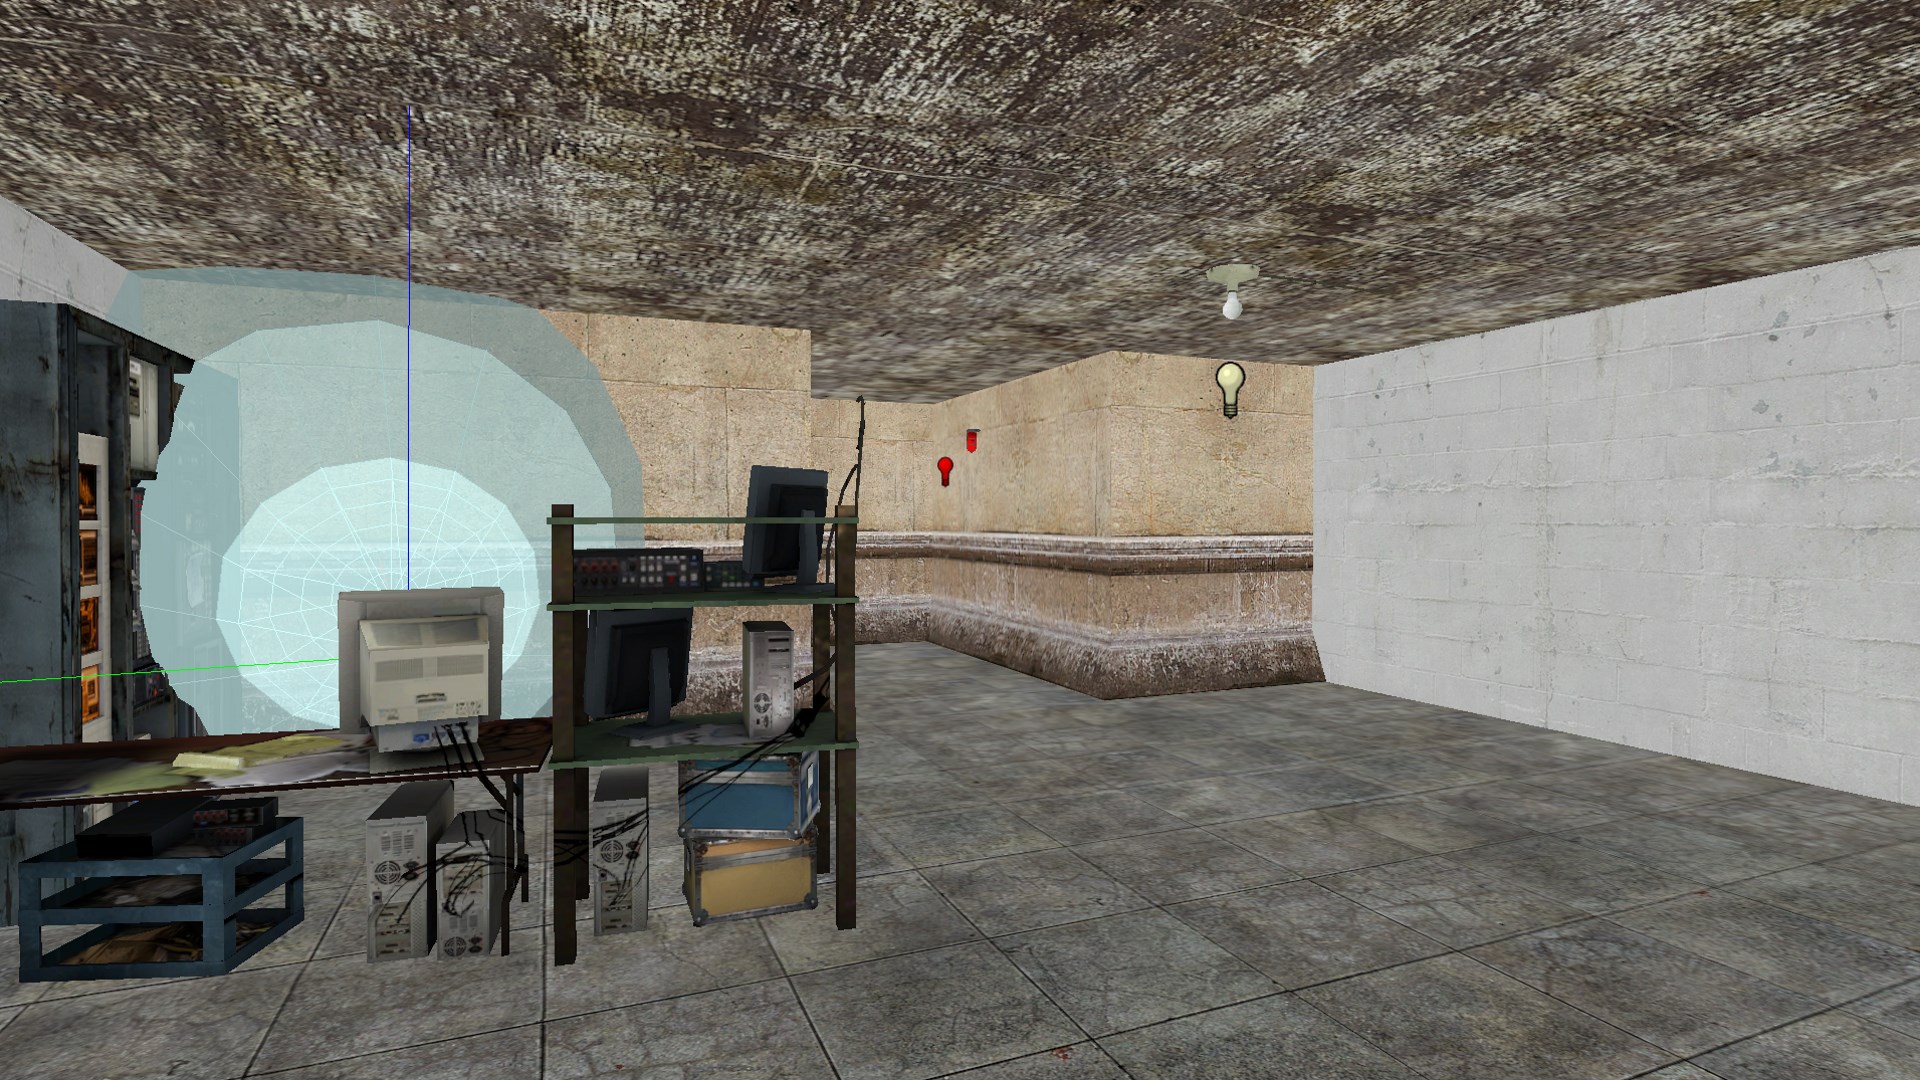
This is a sample scene using a few textures and props. Each lightmap scale has been set to 8 so as to make the effects of each light even more apparent. There are three lights in this scene, one of which is a light_spot.
Quadratic attenuation

This is how the scene looks with all three lights using only quadratic attenuation. Notice the unrealistic and frankly ugly globs of light around the lights in the scene. This is Hammer's default behavior, and it's why your lighting probably sucks. It's also much too bright when compiling for HDR, causing maps like gm_blackmesa_sigma to blind players who play with HDR on.
Linear attenuation

This is how the scene looks with all three lights using linear attenuation. It's a lot more realistic-looking, as much as Source lights can look realistic. There's also not much definition to the highlights, and it's a bit drab.
Constant attenuation

Finally, this is how the scene looks with all three lights using constant attenuation. It looks like crap, but it's also a bit unfair. Constant attenuation has absolutely no fall-off, and it's not meant for point lighting, but rather, ambient lighting, as a way to color shadows and create other effects in a scene. Clearly, putting constant attenuation on all point lights in a scene is a bad idea, but a dim one used as mood lighting can add some flair to a scene.
Mixing attenuation values

This final screenshot is using a mix of lighting schemes. The point lights and the light_spot are using 80% linear and 20% quadratic attenuation, with a dim, orange, constant light to color the shadow in front of the desk. (You can mix the three attenuation formulas on any one light and in any ratio.)

This is all well and good for LDR maps, but in case you're mapping for Source Filmmaker or a game that requires proper HDR lighting, these won't do. Source also has a much newer system for calculating light attenuation that involves specifying the distance at which lights begin to drop in intensity. "50% fall-off" distance, as it's called, is a separate topic entirely, and the two systems can't be mixed.