
Getting Around in the Material System
(February 4, 2018)
Though colloquially referred to as "textures", Source uses a much more customizable system for plastering images onto walls and characters. In the material system, a "texture" is actually a set of images and text files, which are used to define a surface's visual qualities, audible properties, and physical characteristics. This set is referred to as a material.
In this guide, we'll break materials down to their core to show you how it all works.
Parts of a material
At its most basic, two files are needed to get a material working in-game:
- The texture itself (referred to as an albedo), in VTF format
- A material file (VMT) defining its properties
VTFs (Valve Texture File) are created from any standard image format using Valve's pack-in command line application Vtex or using a third-party alternative, such as VTFEdit or VIDE. For the most part, VTFs are simply images encoded in a specialty format. They can't do much on their own, and the game will not recognize a loose VTF. To get it working, you'll need a VMT file to reference it.

The Valve Material File
The VMT (Valve MaTerial) file is what the game actually refers to when it loads a texture. It's simply a plain text file with a list of parameters used to load VTFs and define properties. Let's take a look at a very simple one before we get ahead of ourselves:
LightmappedGeneric
{
	$basetexture brick/brickfloor001a
	$surfaceprop brick
}
Let's break this down, line by line:
- Each VMT starts by referencing a shader. This is the bit of code the game will use to actually render the material. There's many different shaders meant for different uses, but the big two are
LightmappedGenericfor brushes andVertexLitGenericfor models. This is important, asVertexLitGenericmaterials can't be used on brushes, andLightmappedGenericones can't be used on models. - Curly brackets (
{}) are used to enclose shader parameters. Be sure these are closed, or the material will be considered malformed and won't work. $basetextureis an example of a shader parameter, defining a property of the material in question. In this case, this setsbrick/brickfloor001a(right) as the albedo, or the texture to be rendered. Note that, if you have spaces in either the path or the name, you'll need to surround the path in quotes (e.g.$basetexture "path to texture/texture001").$surfacepropis another shader parameter, one that'll define the decals the texture will use, what sound the surface makes when it's shot, and how the surface will reverberate sounds around it. This isn't necessarily needed, but it's good practice to include.
Now, provided you have both the material file and the VTF in materials/brick in the game files, it'll be usable in Hammer and show up in-game as a brick floor.
Customizing a material
Of course, this would all be rather silly if all a material did was display a texture. Additional files can be used to give visual depth and detail to a texture, and the material can be further customized with a variety of additional shader parameters. To add any of the following, simply type the parameter on its own line between the curly brackets.

Adding depth with bumpmaps
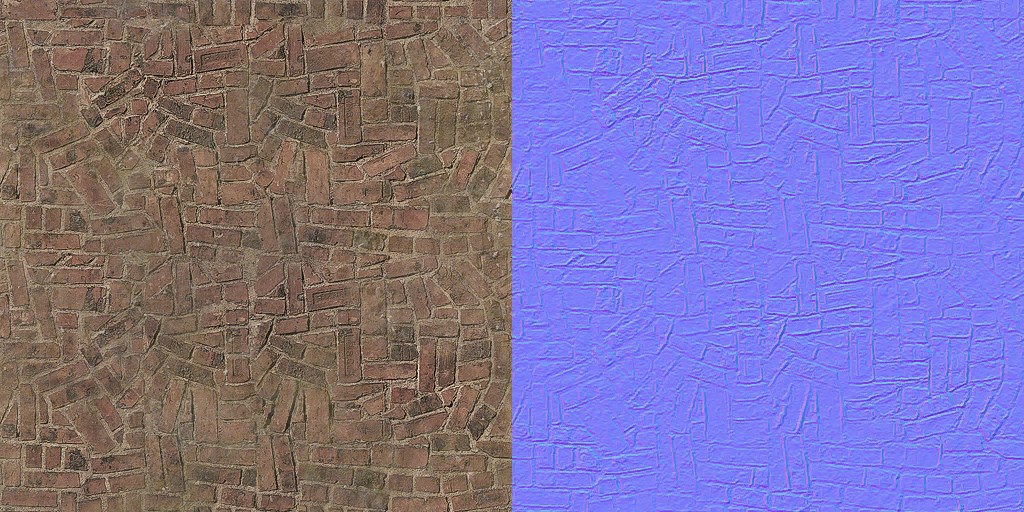
Many shader parameters take a second texture that they'll use for a different purpose. Bumpmaps are one such example. A bumpmap is an image where each color (red, green, and blue) convey depth on one of the three axes. The game shades the surface using the information in the bumpmap; while the surface is still flat, the shading gives the illusion of depth.
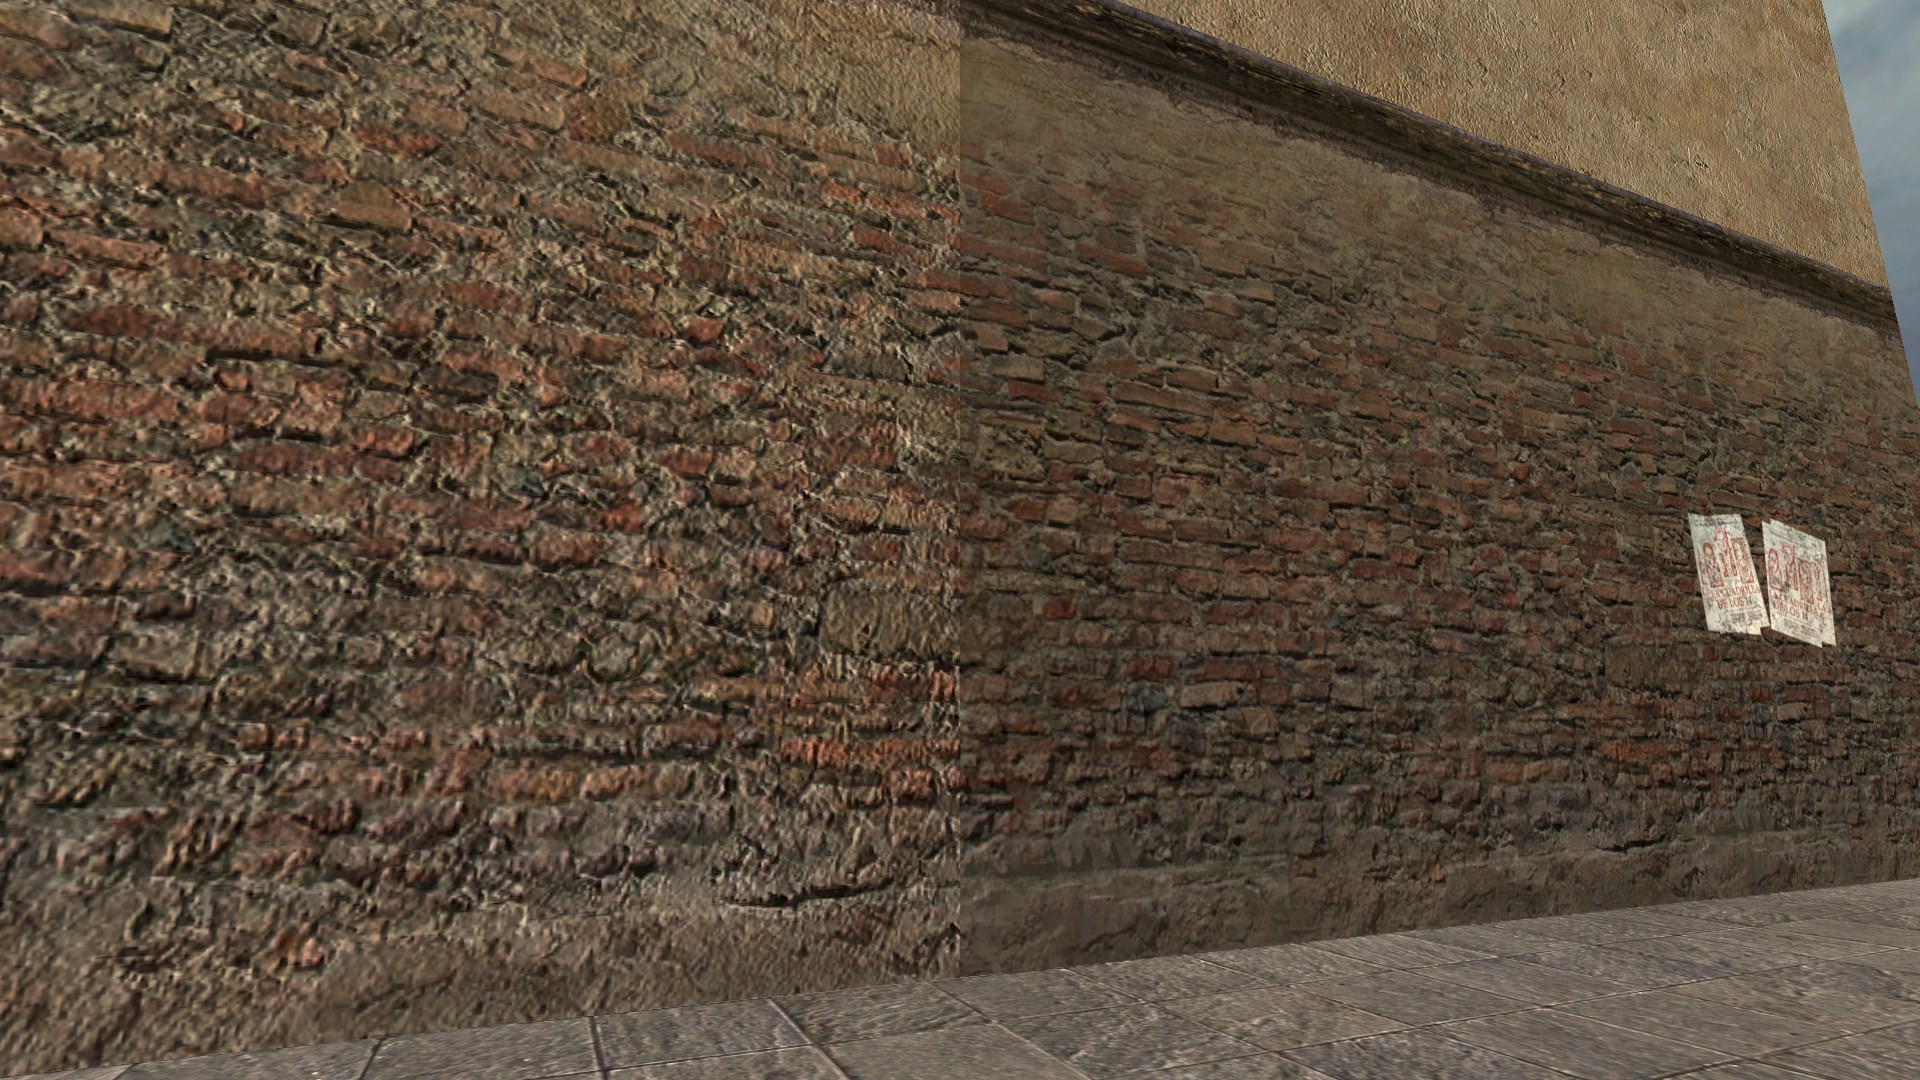
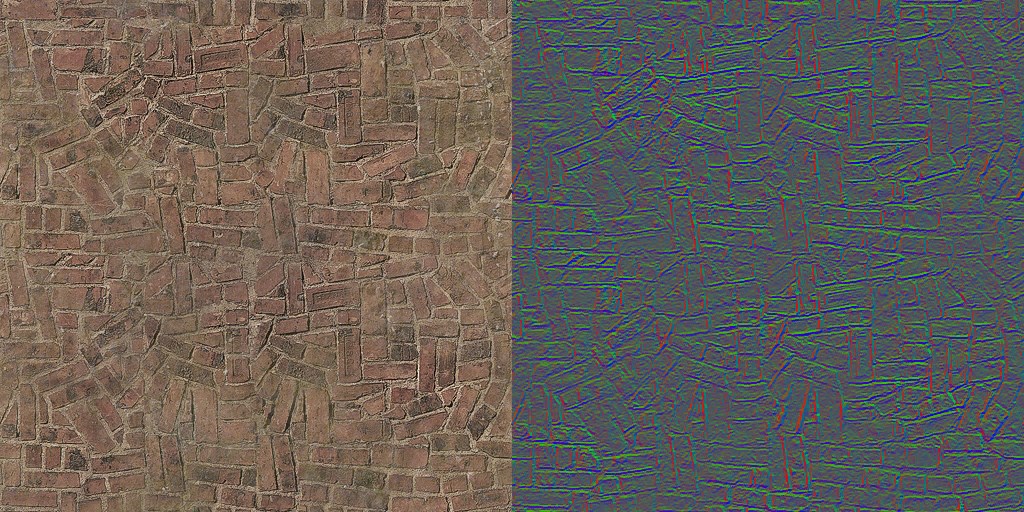
cs_italy/marketwall05b with and without a bumpmapThe above wall, from cs_italy, shows a material with and without a bumpmap.
Bumpmaps can be generated by a variety of programs, including the aforementioned VTFEdit, so we won't go into how to make one. To add one to your material, use the $bumpmap parameter:
LightmappedGeneric
{
	$baseTexture cs_italy/marketwall05b
	%keywords cstrike
	$surfaceprop brick
	$bumpmap cs_italy/marketwall05b_normal
}
The brickfloor001a texture has been set up with a bumpmap on the left side of this wall. Notice the apparent depth in the texture compared to the version on the right.
Mappers using the Orange Box branch of the engine and newer also have the ability to use Valve's self-shadowing bumpmaps, which provide a better illusion of depth and are slightly faster to render. If you happen to have one of those, add it with the $bumpmap like earlier, but add an additional $ssbump parameter so the game knows to use that system instead:
WorldVertexTransition
{
	$basetexture nature/rockwall_cave01a
	$basetexture2 nature/dirtfloor004a
	$bumpmap Nature/rockwall_cave_02a_height-ssbump
	$ssbump 1
}

Adding detail with detail textures
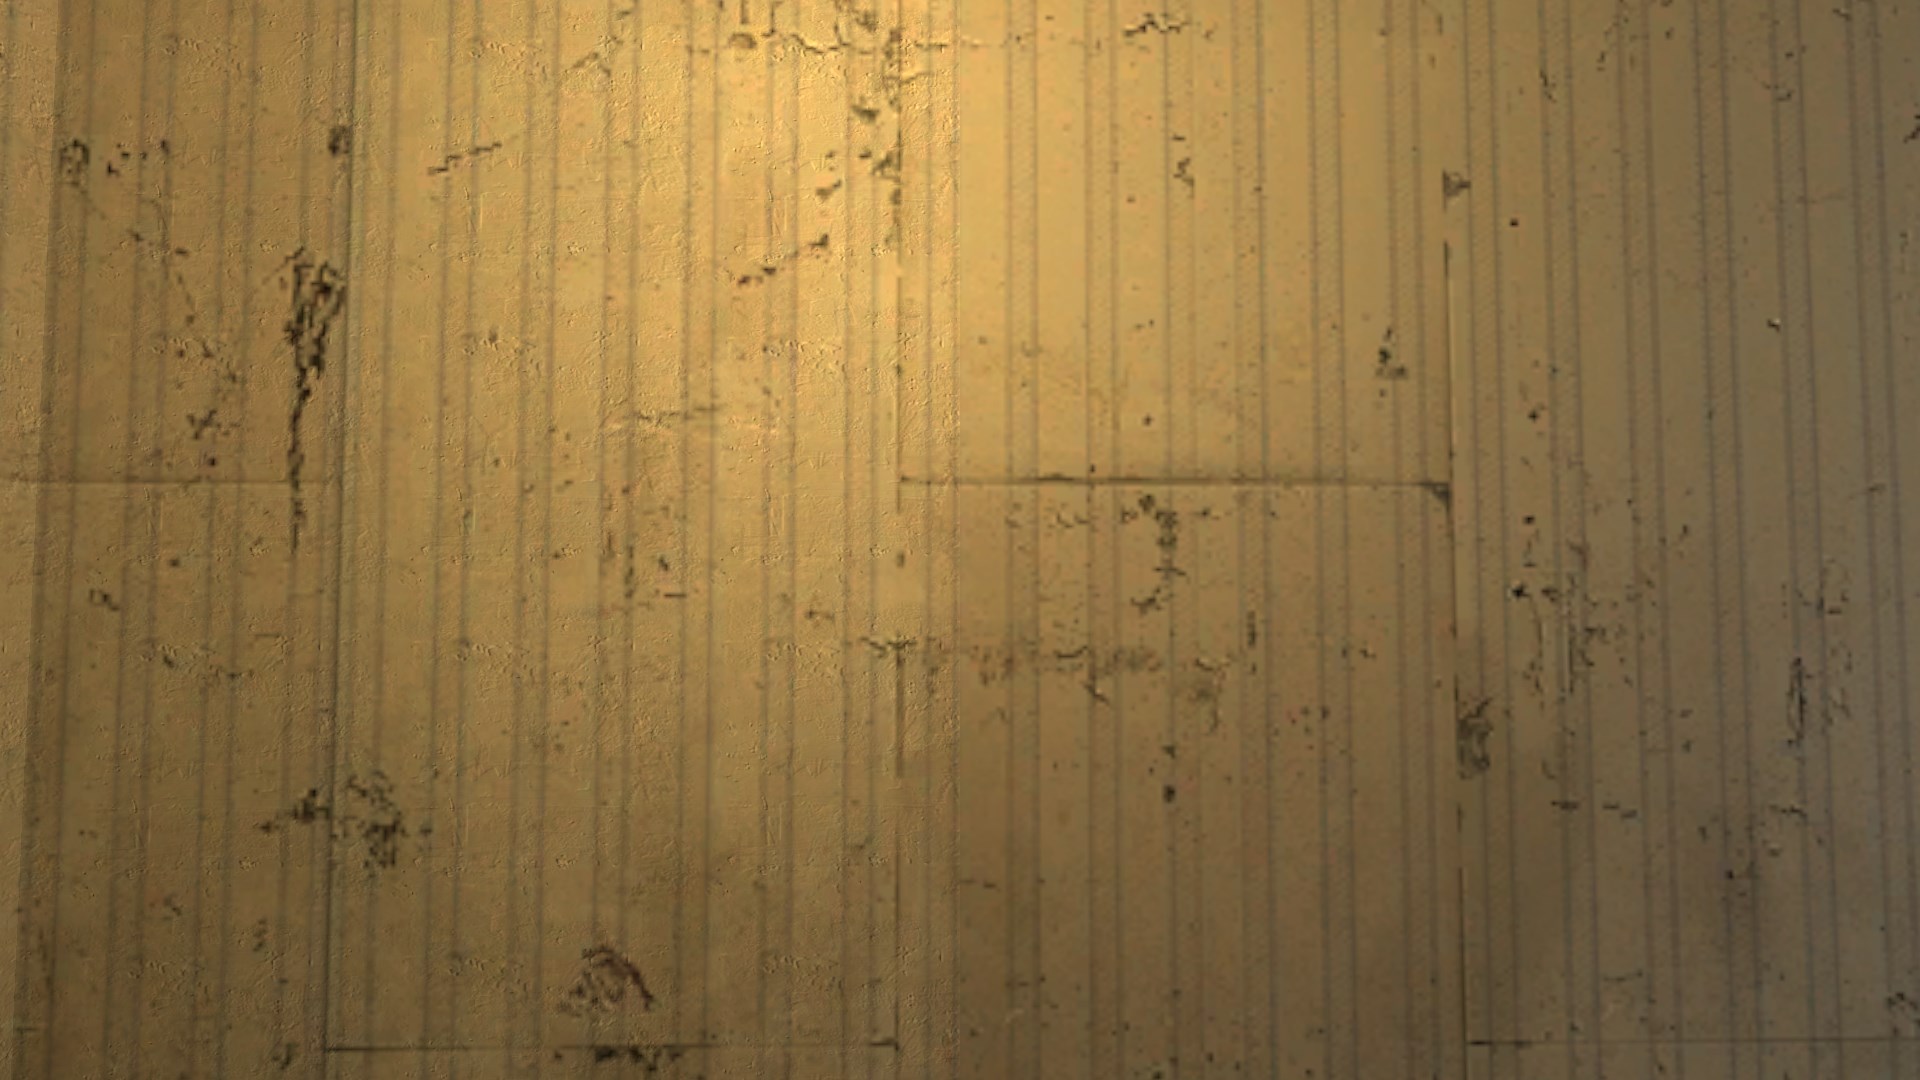
Of course, blowing a texture up makes it look rather blurry. A detail texture is a smaller, greyscale texture applied on top of another to give the illusion of more detail than that texture actually has. This example, a plaster wall from dod_palermo, shows the difference a detail texture makes.
You can add it using the $detail parameter. This is commonly used in Valve's default materials as they're extremely cheap to render. (The following example is also an example of the $detailscale parameter, which defines the size at which the detail texture will be tiled at. In this case, it's just over seven times the original size of the detail texture.)
LightmappedGeneric
{
	$basetexture plaster/wallpaper002b
	$surfaceprop plaster
	%keywords c17downtown

	$detail detail\plaster_detail_01
	$detailscale 7.283
	$detailblendfactor .8
	$detailblendmode 0
}
Getting that squeaky-clean shine with cubemaps
Reflections and cubemaps are their own thing in Source, and if you're not familiar with how those work, check out "Cubemaps: What They Do, and How to Use Them" first. If you're looking to add them to a material, use the $envmap and $envmaptint parameters.
VertexLitGeneric
{
	<dx90
		{
			$fallbackmaterial models/props_gameplay/cap_point_base_dx80
		}

	$basetexture Models/props_gameplay/cap_point_base
	$bumpmap Models/props_gameplay/cap_point_base_normal

	$envmap env_cubemap
	$normalmapalphaenvmapmask 1
	$envmaptint "[1 1 1]"
}
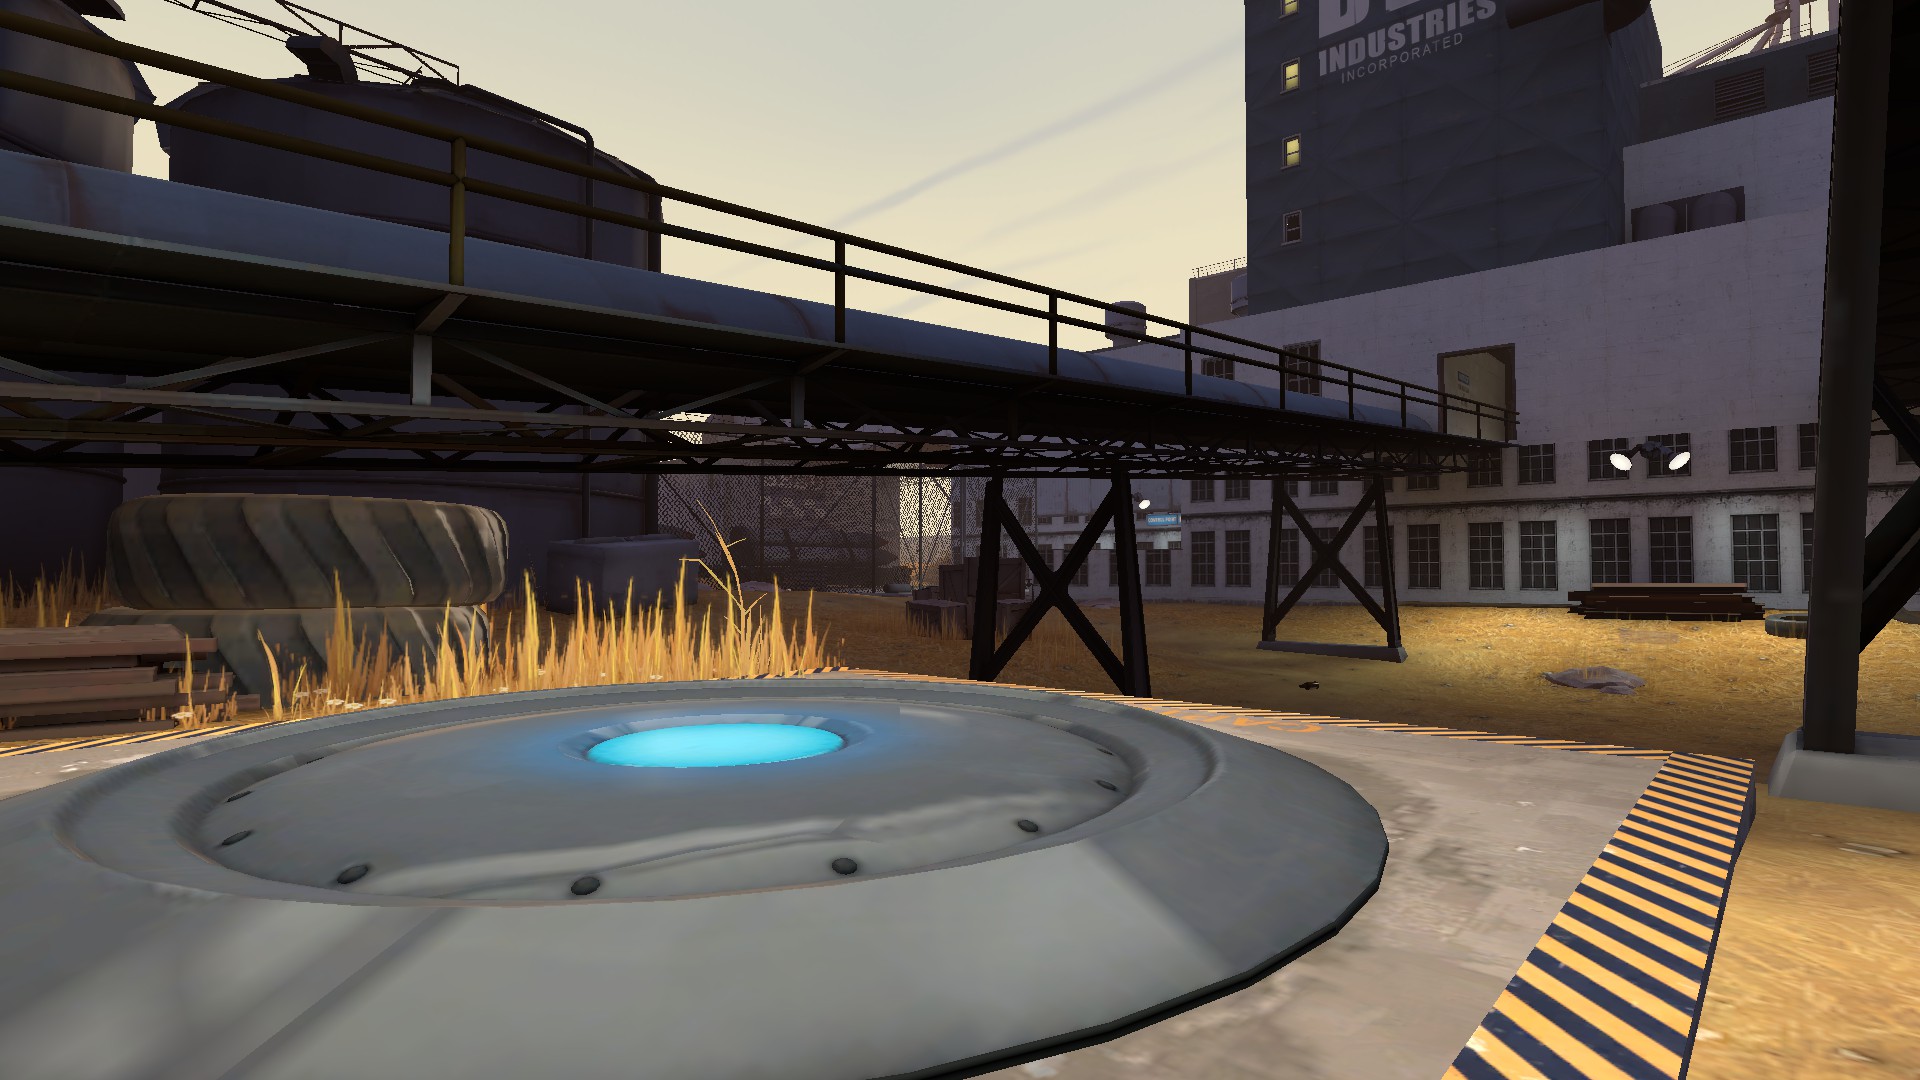
cp_granary created by a cubemap$envmap is a special parameter, because you can either specify a custom environment map texture or a generic env_cubemap if you want it to use the nearest cubemap entity when the map is compiled. $envmaptint controls the intensity of the reflection, using a vector value containing three numbers between 0 and 1, one each for the red, green, and blue channels. (The vector needs to be wrapped in quotes, as it uses spaces.) The above example, a control point from cp_granary, has a pure white reflection, "[1 1 1]". If you need the reflection fainter, set all three numbers lower.
These are just a few of the ways you can customize a material. There's loads more shaders and parameters if you need to get specific effects on a texture, even some specific to the game you're mapping for. You can even do light scripting on a material through the material proxy system, which is heavy enough to require its own guide.